進口程序準備中,近期開放購買。
注意:目前價格僅供參考。
SparkFun麵包板電源USB - 5V / 3.3V

原名
SparkFun Breadboard Power Supply USB - 5V/3.3V
貨號
PRT-08376
特價
328
資料來源:https://www.sparkfun.com/products/8376
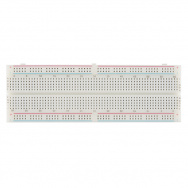
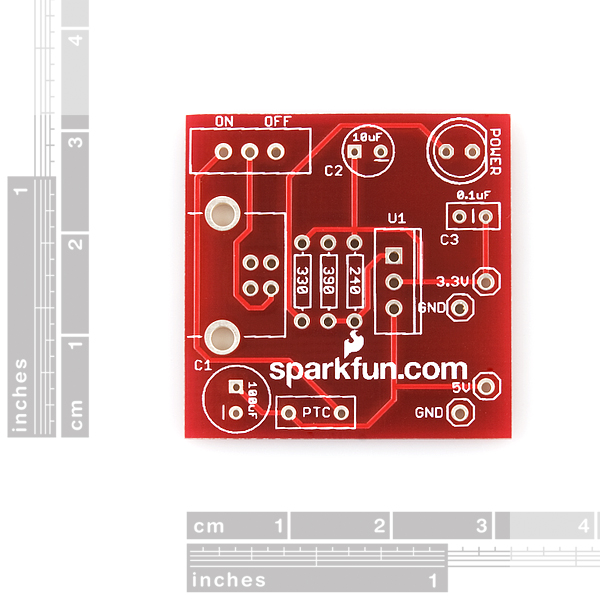
A very simple breadboard power supply kit that takes power from any USB port and outputs a fuse protected and regulated 3.3V. The .1" headers are mounted on the bottom of the PCB for simple insertion into a breadboard. Pins labeled 5V/GND 3.3V/GND plug directly into the power lines.
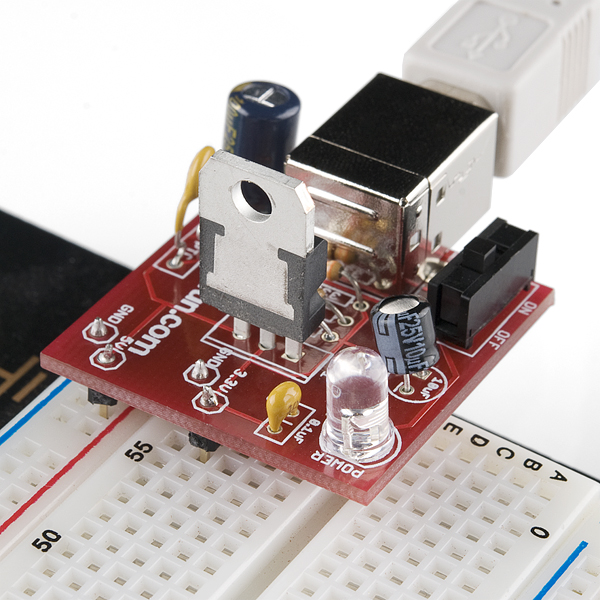
When you plug this board into a breadboard you must be aware that the unused power and ground pins will short if they are inserted into a bread board row. To avoid this problem, orient the board so that the unused power pins are left off the side of the breadboard. You can also orient the board sideways and utilize both 5V and 3.3V at the same time.
USB v2.0 specifies a max of 500mA at 5V. The on-board fuse limits the current to 500mA. Board has a handy On/Off switch.
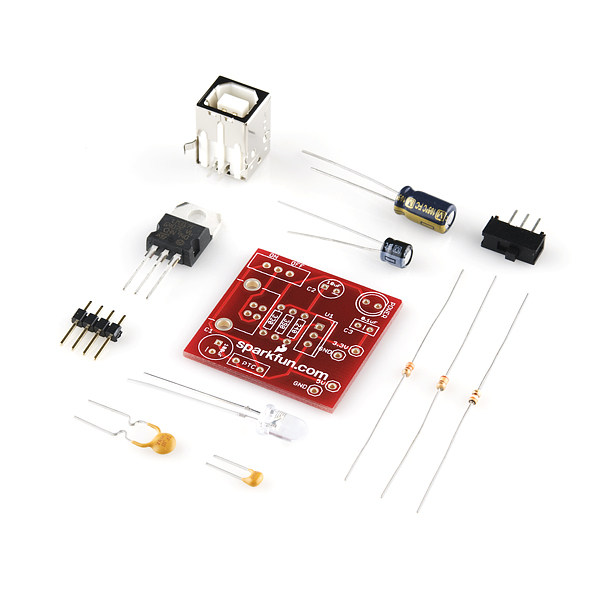
Comes as a bag of parts kit and is easily assembled if you can follow the silkscreen indicators and have beginning experience with a soldering iron. You will need to read the resistor bands or use a multimeter to determine the resistor sizes.
Check out our Unregulated Power Supply Tutorial!
Kit Contains:
- USB type B connector
- TO-220 Voltage Regulator (LM317 1.5A max current)
- PTC Resettable Fuse
- 100uF 35V Capacitor
- 10uF 25V Capacitor
- 0.1uF 50V Capacitor
- Power LED
- SPDT Slide Switch
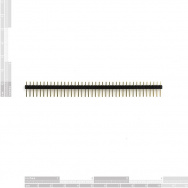
- 4pcs 0.1" Header Pins
- 330 Resistor 1/6W
- 390 Resistor 1/6W
- 240 Resistor 1/6W
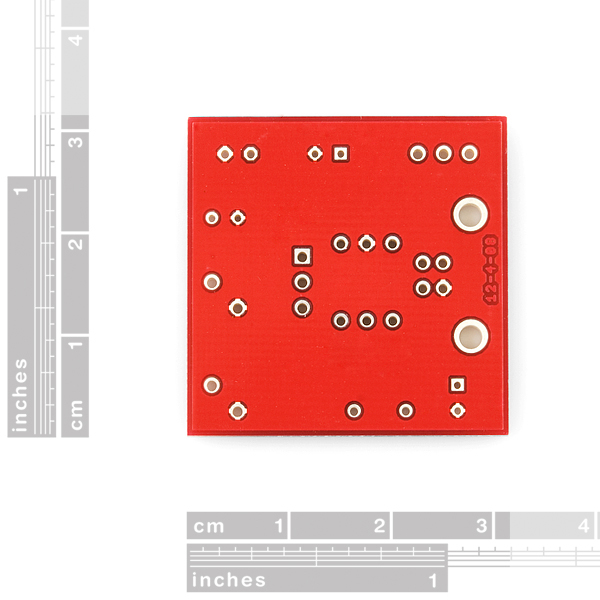
- Bare PCB with Silkscreen Indicators
Features:
- 1.25x1.25"
Documents:
一個非常簡單的實驗電路板電源套件,從任何一個USB端口取功率和輸出保險絲保護,調節3.3V。 .1“頭被安裝在PCB進行簡單的插入底部插入一塊麵包板。引腳標記5V / 3.3V GND / GND直接插入電源線。
當你把這個卡插入麵包板,你必須意識到,未使用的電源和接地引腳短會,如果他們被插入到麵包板一行。為了避免這個問題,定位板,使未使用的電源引腳都不放過線路板的側面。您也可以定向板橫盤整理,並利用5V和3.3V兩種在同一時間。
USB 2.0在指定5V 500mA的電流A最大。板載保險絲限制電流為500mA。董事會有一個方便的On / Off開關。
當屬零件包一包 ,很容易組裝,如果你能跟隨絲印指標,並與烙鐵開始體驗。您將需要閱讀的電阻帶或用萬用表來確定電阻的大小。
看看我們的規範的電源教程 !
套件包括:
- USB B型連接器
- TO-220電壓調節器(LM317 1.5A最大電流)
- PTC自复保險絲
- 35V 100uF的電容器
- 10uF的電容器25V
- 0.1uF的電容器50V
- 電源指示燈
- SPDT滑動開關
- 4顆0.1“排針引腳
- 330電阻1 / 6W
- 390電阻1 / 6W
- 240電阻1 / 6W
- 裸PCB絲印與指標
文件: 原理圖
尺寸:1.25x1.25“